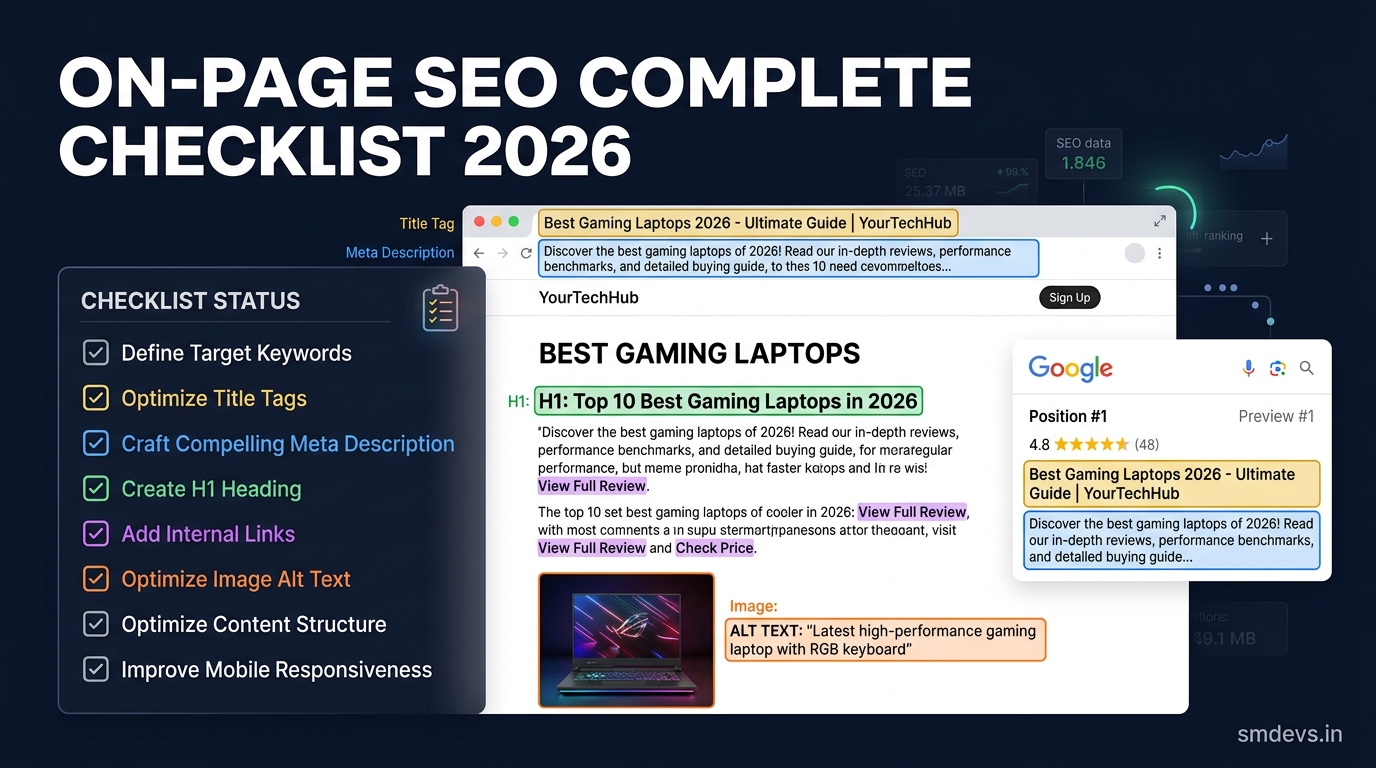
Key Takeaways
- Image optimisation is a critical but often overlooked aspect of SEO. Slow, poorly labelled images hurt rankings and user experience. This guide covers compression, WebP format, alt text, descriptive filenames, lazy loading, and image schema markup.
Why Image SEO Matters
Images are one of the most common causes of slow page load times — and page speed is a Google ranking factor. Unoptimised images can increase page load time by 3–5 seconds. Additionally, properly tagged images rank in Google Images, bringing additional organic traffic.
1. Compress Images Before Uploading
The single biggest win. A 4MB image can usually be compressed to 200KB with no visible quality loss:
- TinyPNG / TinyJPG: Free web tool, excellent quality
- Squoosh: Google's free tool with fine control
- ShortPixel: WordPress plugin for automatic compression
Target file sizes: Blog hero images under 200KB. Thumbnails under 50KB. Icons under 10KB.
2. Use Modern Image Formats
WebP format offers 25–34% smaller file sizes vs JPEG/PNG at equal quality. Next.js automatically serves WebP via its <Image> component. For regular HTML sites, use:
<picture>
  <source srcset="image.webp" type="image/webp">
  <img src="image.jpg" alt="description">
</picture>
AVIF is even newer and smaller than WebP — browser support is growing (now at ~90%).
3. Write Descriptive Alt Text
Alt text serves two purposes: accessibility (screen readers) and SEO (helps Google understand the image).
Bad alt text: alt="image1.jpg" or alt="" (empty)
Good alt text: alt="MACD indicator showing bullish crossover signal on Nifty 50 daily chart"
Rules for alt text:
- Describe what's in the image accurately
- Include your target keyword naturally where relevant
- Keep it under 125 characters
- Don't start with "Image of..." or "Picture of..."
4. Use Descriptive, Keyword-Rich Filenames
Bad filename: IMG_20240315_123456.jpg
Good filename: macd-indicator-bullish-crossover-nifty50.jpg
Use hyphens (not underscores) to separate words. Google reads hyphens as word separators.
5. Implement Lazy Loading
Images below the fold should load only when the user scrolls to them:
<img src="image.jpg" alt="description" loading="lazy">In Next.js, all images below the fold are automatically lazy-loaded when using the <Image> component.
6. Set Explicit Width and Height
Always specify width and height to prevent Cumulative Layout Shift (CLS) — a Core Web Vital. Without dimensions, the page "jumps" as images load, hurting user experience and rankings.
<img src="image.jpg" alt="..." width="800" height="450">7. Use a CDN for Image Delivery
A Content Delivery Network (CDN) serves images from the closest server to the user. Cloudinary and Imgix specialise in image CDNs with automatic optimisation. Vercel's image optimisation works automatically for Next.js projects.
8. Add Image Structured Data
For important images (product images, recipe photos, infographics), add schema markup to help Google understand them for rich results.