Key Takeaways
- An XML sitemap is a file that lists all the important URLs on your website so search engines can find and index them efficiently.
- You can create a sitemap manually (writing XML) or using a free generator tool — no coding required.
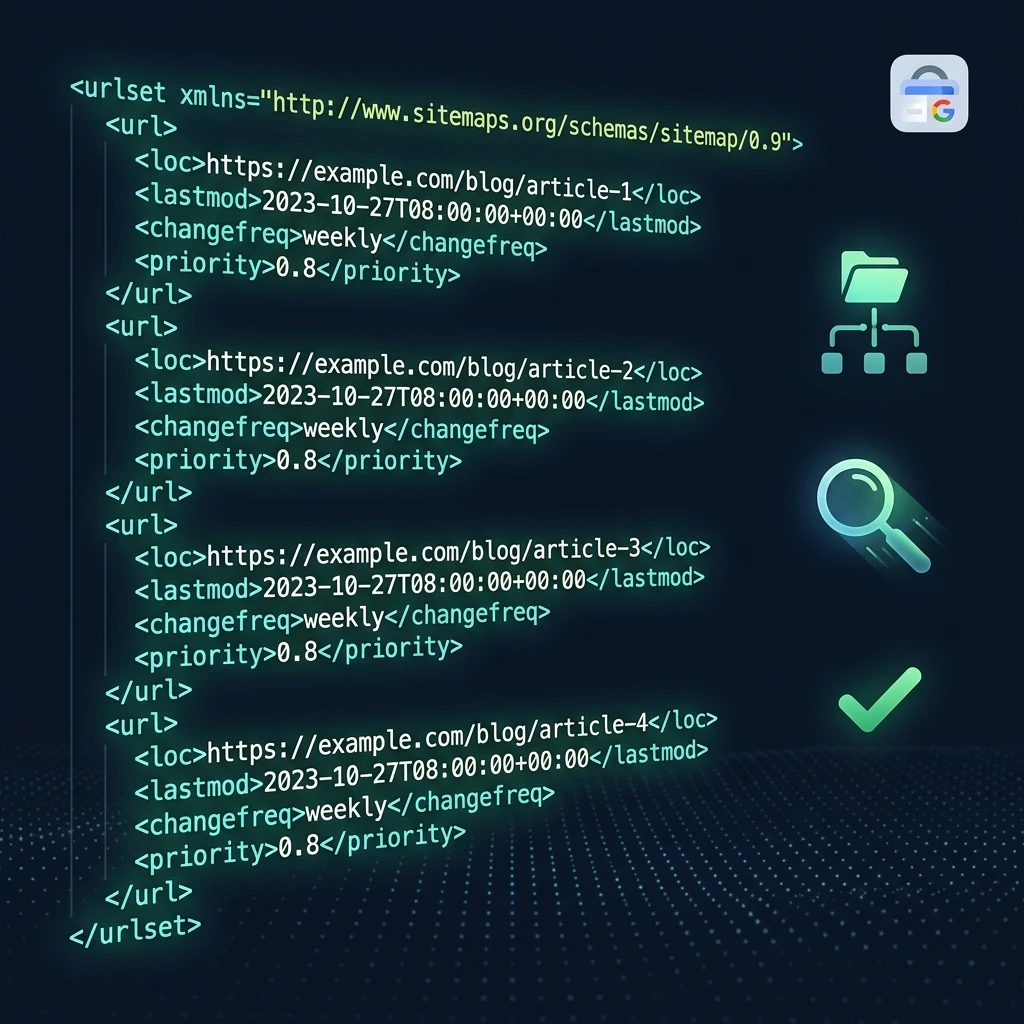
- Every sitemap should include: the URL (loc), last modified date (lastmod), and optionally the change frequency and priority.
- After creating it, submit your sitemap to Google Search Console and Bing Webmaster Tools to trigger indexing.
- Use our free XML Sitemap Generator to create a clean sitemap in seconds.
What Is an XML Sitemap?
An XML sitemap is a file that lists every important URL on your website in a structured format that search engine crawlers (Googlebot, Bingbot) can easily read. It acts as a roadmap for your site — telling search engines which pages exist, when they were last updated, and how often they change.
Without a sitemap, search engines discover your pages through links. With a sitemap, you give them a direct, comprehensive list — which is especially important for large sites, new sites without many backlinks, or sites with deep page structures that crawlers might not naturally reach.
A basic XML sitemap looks like this:
<?xml version="1.0" encoding="UTF-8"?>
<urlset xmlns="http://www.sitemaps.org/schemas/sitemap/0.9">
  <url>
    <loc>https://yoursite.com/</loc>
    <lastmod>2025-06-01</lastmod>
    <changefreq>weekly</changefreq>
    <priority>1.0</priority>
  </url>
  <url>
    <loc>https://yoursite.com/about</loc>
    <lastmod>2025-05-15</lastmod>
    <changefreq>monthly</changefreq>
    <priority>0.8</priority>
  </url>
</urlset>
Do You Actually Need an XML Sitemap?
Google says sitemaps are most useful for sites that are large (1,000+ pages), new (few inbound links), use rich media content, or have pages not well-linked internally. However, in practice, even small sites benefit from having one — it costs nothing, takes minutes to create, and removes any doubt about whether your pages are being found.
Google also uses your sitemap's lastmod dates to prioritize recrawling, so keeping your sitemap updated ensures your newest content gets indexed faster.
Method 1: Create an XML Sitemap Using a Free Generator (Recommended)
The easiest way to create a sitemap — especially if you don't want to write XML manually — is to use a free sitemap generator tool.
Step 1: Open the Sitemap Generator
Go to our free XML Sitemap Generator. You don't need to create an account.
Step 2: Enter Your URLs
Add the URLs you want to include in your sitemap. For a small site, list your most important pages: homepage, key service/product pages, blog index, and top blog posts. Exclude pages like login pages, thank-you pages, admin areas, and duplicate content pages.
Step 3: Set Priority and Change Frequency
For each URL, optionally set:
- Priority (0.0–1.0): How important this page is relative to others on your site. Homepages typically get 1.0, key pages 0.8, regular posts 0.5–0.6.
- Change Frequency: How often the page content changes. Use "monthly" for static pages and "weekly" or "daily" for frequently updated content like blogs.
Step 4: Generate and Download
Click Generate. The tool outputs a valid XML file. Download it and save it as sitemap.xml.
Step 5: Upload to Your Website Root
Upload sitemap.xml to the root of your domain — it should be accessible at https://yoursite.com/sitemap.xml. This is the standard path that search engines automatically check.
Method 2: Create an XML Sitemap Manually
If you prefer to build your sitemap by hand (or via a script), here's the full structure:
Step 1: Create a New File Called sitemap.xml
Open any text editor. The file must start with the XML declaration and the urlset opening tag with the correct namespace:
<?xml version="1.0" encoding="UTF-8"?>
<urlset xmlns="http://www.sitemaps.org/schemas/sitemap/0.9">
Step 2: Add a <url> Block for Each Page
For every page you want indexed, add a block like this:
  <url>
    <loc>https://yoursite.com/page-url</loc>
    <lastmod>2025-06-20</lastmod>
    <changefreq>monthly</changefreq>
    <priority>0.8</priority>
  </url>
Only <loc> is required. The others are optional but recommended.
Step 3: Close the File
</urlset>Step 4: Validate Your Sitemap
Before submitting, make sure your XML is valid. Paste it into a free XML validator or use Google Search Console's URL Inspection tool to check if it can be parsed correctly.
Method 3: Auto-Generate via CMS or Framework
If you use a CMS or web framework, your sitemap may already be generated automatically:
- WordPress: Install Yoast SEO or Rank Math — both auto-generate and update your sitemap.
- Next.js: Add a
sitemap.xmlroute usingnext-sitemapor Next.js 13+ built-in sitemap generation. - Shopify: Automatically generates at
yourstore.com/sitemap.xml - Wix / Squarespace: Automatically generated — find it at
yoursite.com/sitemap.xml
How to Submit Your XML Sitemap to Google Search Console
Creating a sitemap is only half the job. Submitting it to Google Search Console tells Google exactly where to find it and triggers an immediate crawl.
Step 1: Open Google Search Console
Go to search.google.com/search-console and select your property.
Step 2: Navigate to Sitemaps
In the left sidebar, click Indexing → Sitemaps.
Step 3: Enter Your Sitemap URL
In the "Add a new sitemap" field, enter your sitemap path. For most sites this is simply: sitemap.xml (Search Console already knows your domain). Click Submit.
Step 4: Verify Submission
Google will attempt to fetch and process your sitemap. Within a few minutes, the status will update to "Success" with a count of discovered URLs. If you see an error, check that your sitemap is publicly accessible at the submitted URL.
XML Sitemap Best Practices
- ✅ Only include canonical, indexable URLs (no
noindexpages, no redirect chains) - ✅ Keep sitemaps under 50,000 URLs and 50MB — use sitemap index files for larger sites
- ✅ Set accurate
lastmoddates — use the actual date content was last updated, not today's date for every URL - ✅ Add your sitemap URL to your
robots.txtfile:Sitemap: https://yoursite.com/sitemap.xml - ✅ Submit to both Google Search Console AND Bing Webmaster Tools
- ✅ Update your sitemap whenever you publish new content
- ❌ Don't include URLs that return 404 or 301 redirects
- ❌ Don't include duplicate content, paginated pages, or filtered URLs (e.g., ?sort=price)
What is the difference between an XML sitemap and an HTML sitemap?
An XML sitemap is a machine-readable file designed for search engine crawlers — it lists URLs in a structured format that Googlebot can parse efficiently. An HTML sitemap is a human-readable page on your website that lists links to all your pages, helping users navigate the site. Both serve different purposes: XML sitemaps help with indexing, HTML sitemaps help with user navigation and internal linking.
How often should I update my XML sitemap?
Update your sitemap every time you publish or significantly update a page. For blogs and e-commerce sites that add content frequently, automate sitemap generation through your CMS or framework. At minimum, update your sitemap monthly and re-submit to Google Search Console after major content additions.
Can I have multiple XML sitemaps?
Yes — for large websites with more than 50,000 URLs or 50MB of data, you should split into multiple sitemaps and create a sitemap index file that references them all. For example: sitemap-blog.xml, sitemap-products.xml, sitemap-pages.xml, all listed in a sitemap-index.xml.
Does having a sitemap guarantee Google will index my pages?
No. A sitemap tells Google where to look, but indexing decisions are made by Google's algorithm based on content quality, crawl budget, and technical factors. However, submitting a sitemap significantly increases the likelihood that all your important pages are discovered and considered for indexing, especially for new sites or deep pages.